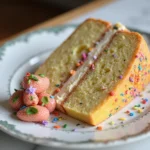
This classic vanilla cake brings together centuries of culinary tradition with modern techniques to create a dish that’s both comforting and elegant.
The harmonious balance of sweet vanilla and fluffy texture creates a memorable dining experience that will have everyone asking for your secret.
I discovered this recipe during my travels through Europe, where local bakers have perfected it through generations of careful refinement.
Whether you’re preparing a casual family dinner or hosting a special celebration, this vanilla cake delivers impressive results with straightforward preparation.
The History and Cultural Significance
• How to Bake the Perfect Vanilla Cake traces its origins to Europe, specifically England, where it was originally created during the 19th century.
• The dish evolved over decades as baking powder and refined sugar became more widely available, eventually becoming the beloved version we know today.
• In Western cultures, this cake traditionally appears at birthdays and weddings, symbolizing joy and celebration.
• While many variations exist across different cultures, the authentic version maintains its light and airy texture that sets it apart from imitations.
Recipe Overview
Nutritional Information (per serving)
You Might Also Like

Ingredients
Essential Equipment Guide
Stand Mixer: A stand mixer is crucial for achieving the light and fluffy texture of the cake. It provides consistent mixing that hand mixing cannot replicate. Look for a model with a whisk attachment for optimal aeration.
Measuring Cups and Spoons: Accurate measurements are essential in baking. A set of dry measuring cups and spoons ensures you get the right quantity of ingredients, impacting the cake’s texture and flavor. Choose stainless steel or glass for durability and easy cleaning.
9-inch Round Cake Pans: These pans are ideal for baking the perfect layer cake. Their size ensures even baking and proper rise. Opt for non-stick or metal pans for the best results.
Preparation Methods
Creaming Butter and Sugar: This technique is crucial for incorporating air into the batter. Start with softened butter and granulated sugar, and mix until light and fluffy. This process can take about 3-5 minutes with a stand mixer. Look for a pale color and a creamy texture to know you’ve achieved the right consistency.
Folding in Ingredients: When incorporating dry ingredients or egg whites, use a gentle folding motion. This technique preserves the air bubbles created during creaming, which is essential for a light cake. Utilize a spatula and rotate the bowl to ensure even mixing without deflating the batter.
Testing for Doneness: To check if your cake is done, insert a toothpick into the center. It should come out clean or with a few crumbs attached. If the toothpick has wet batter on it, continue baking and check again in a few minutes.
Step 1: Prepare Ingredients
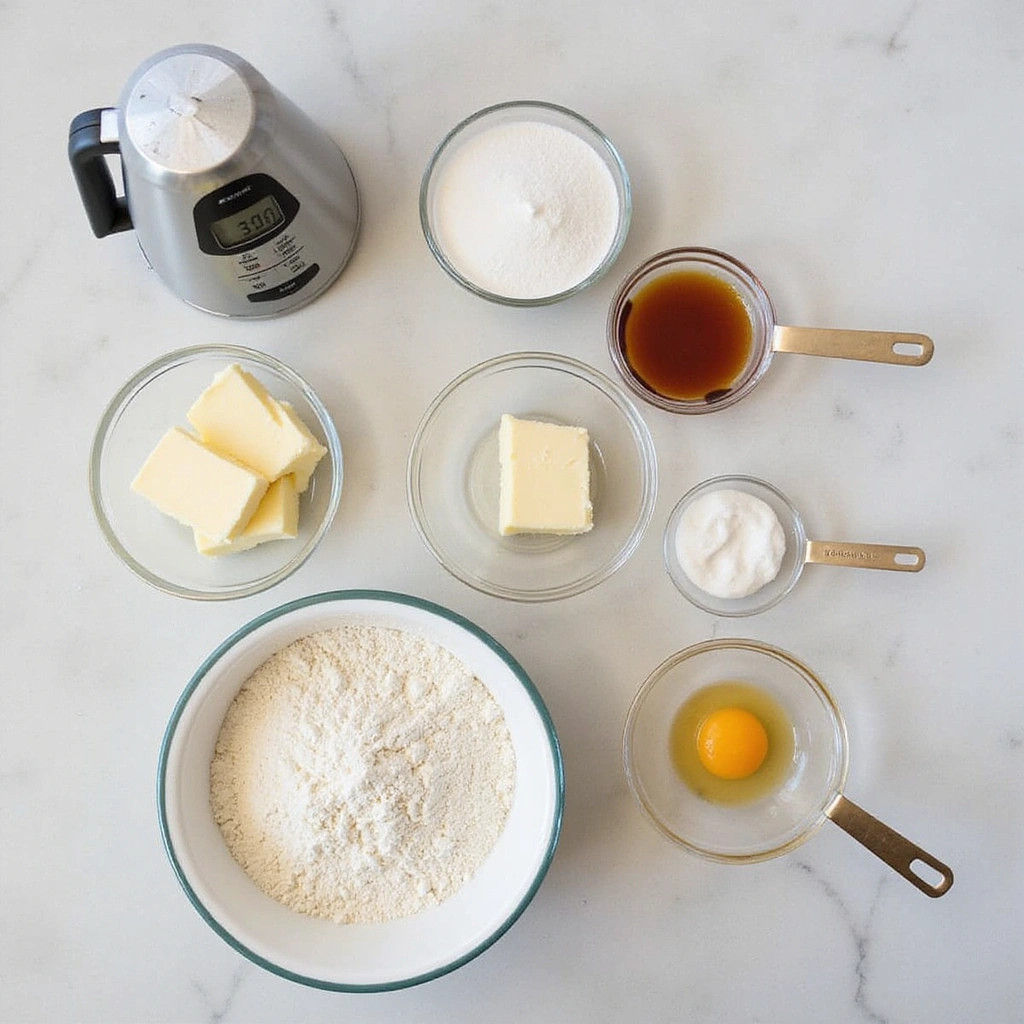
Gather all your ingredients and ensure they are at room temperature.
This includes butter, eggs, and milk, which will blend more easily when warm.
Measuring accurately is key, so use dry measuring cups for flour and sugar.
Preheat your oven to 350°F (175°C) while preparing your ingredients.
Step 2: Cream Butter and Sugar
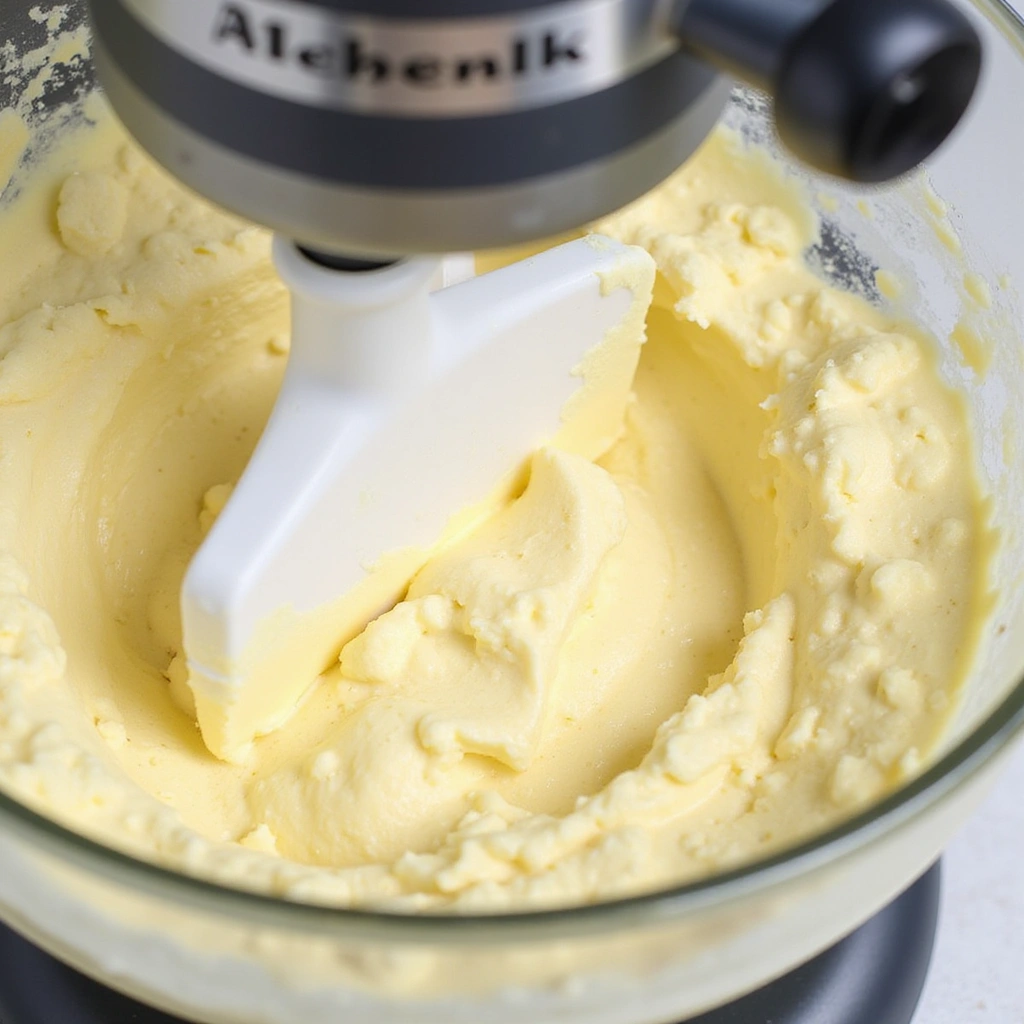
In a stand mixer, add softened butter and granulated sugar.
Beat on medium speed until the mixture is light and fluffy, about 3-5 minutes.
This process incorporates air and is essential for the cake’s texture.
Scrape down the sides of the bowl to ensure even mixing.
Step 3: Add Eggs and Vanilla
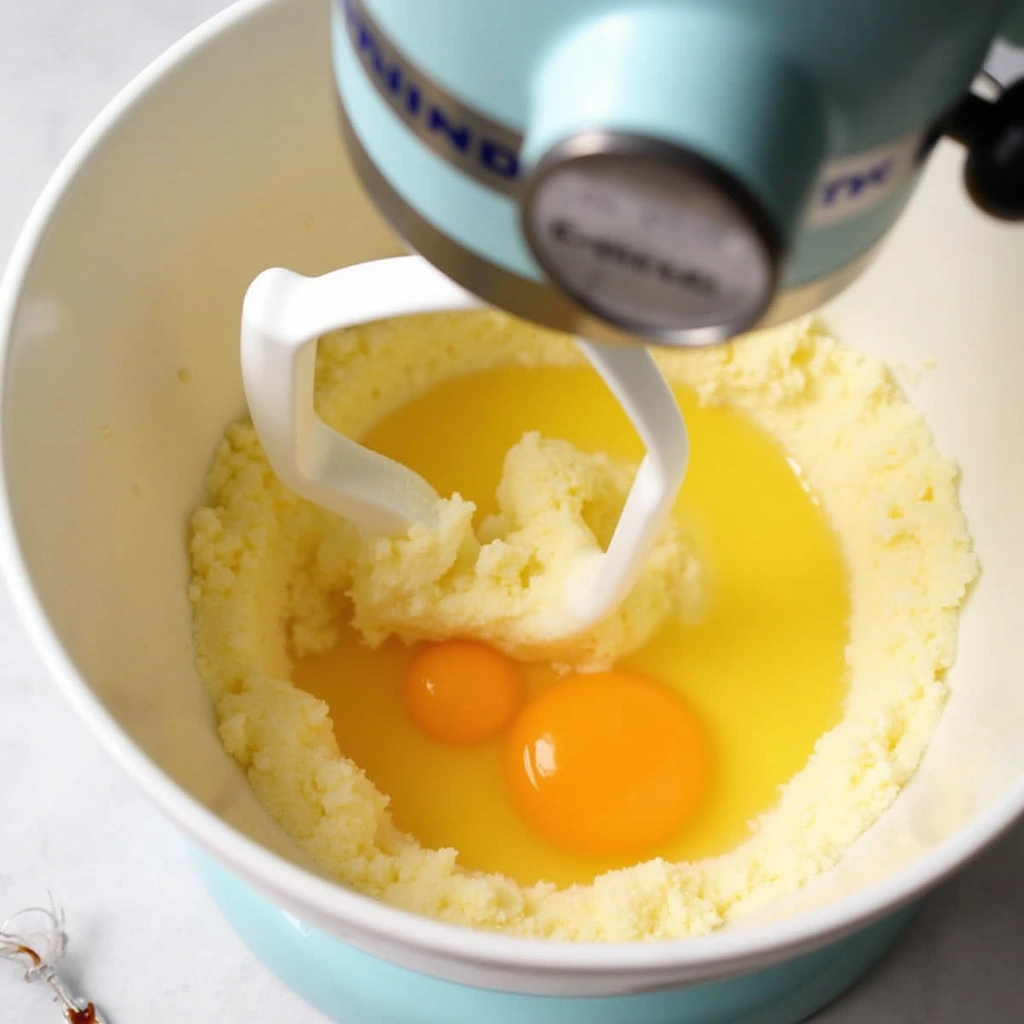
With the mixer on low, add the eggs one at a time, mixing well after each addition.
This helps to create a stable emulsion, which is crucial for the batter.
Then, add the vanilla extract and mix until just combined.
Ensure the mixture remains light and airy, avoiding over-mixing.
Step 4: Combine Dry Ingredients
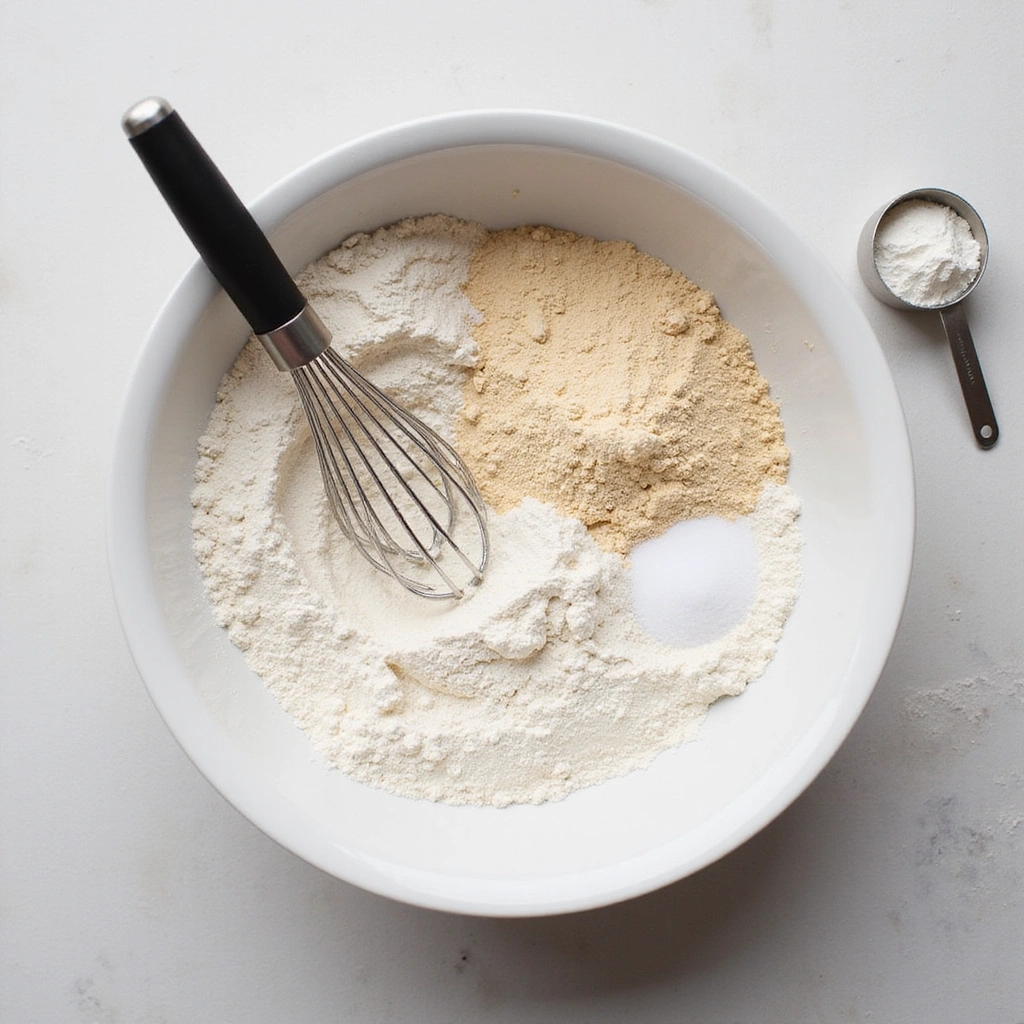
In a separate bowl, whisk together the flour, baking powder, and salt.
This mixture helps to evenly distribute the leavening agent and salt.
Use a fine mesh sieve if you want a lighter flour texture.
Set this bowl aside for later use.
Step 5: Alternate Adding Dry Ingredients and Milk
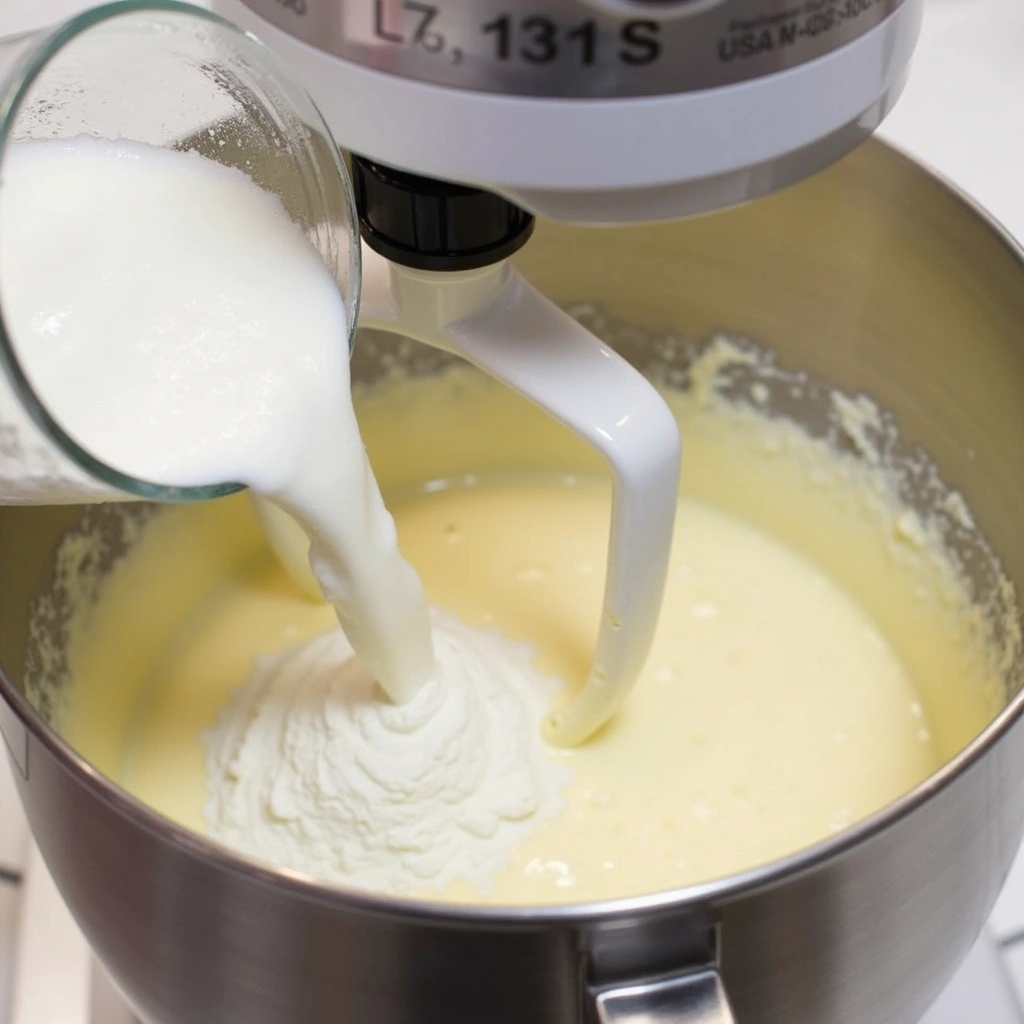
With the mixer on low speed, add the dry ingredients in three parts, alternating with milk.
Start with a scoop of the dry mixture, then add some milk, mixing gently in between.
This method helps to prevent the batter from becoming too dense or over-mixed.
Scrape down the sides of the bowl as needed to ensure everything is well incorporated.
Step 6: Prepare Cake Pans
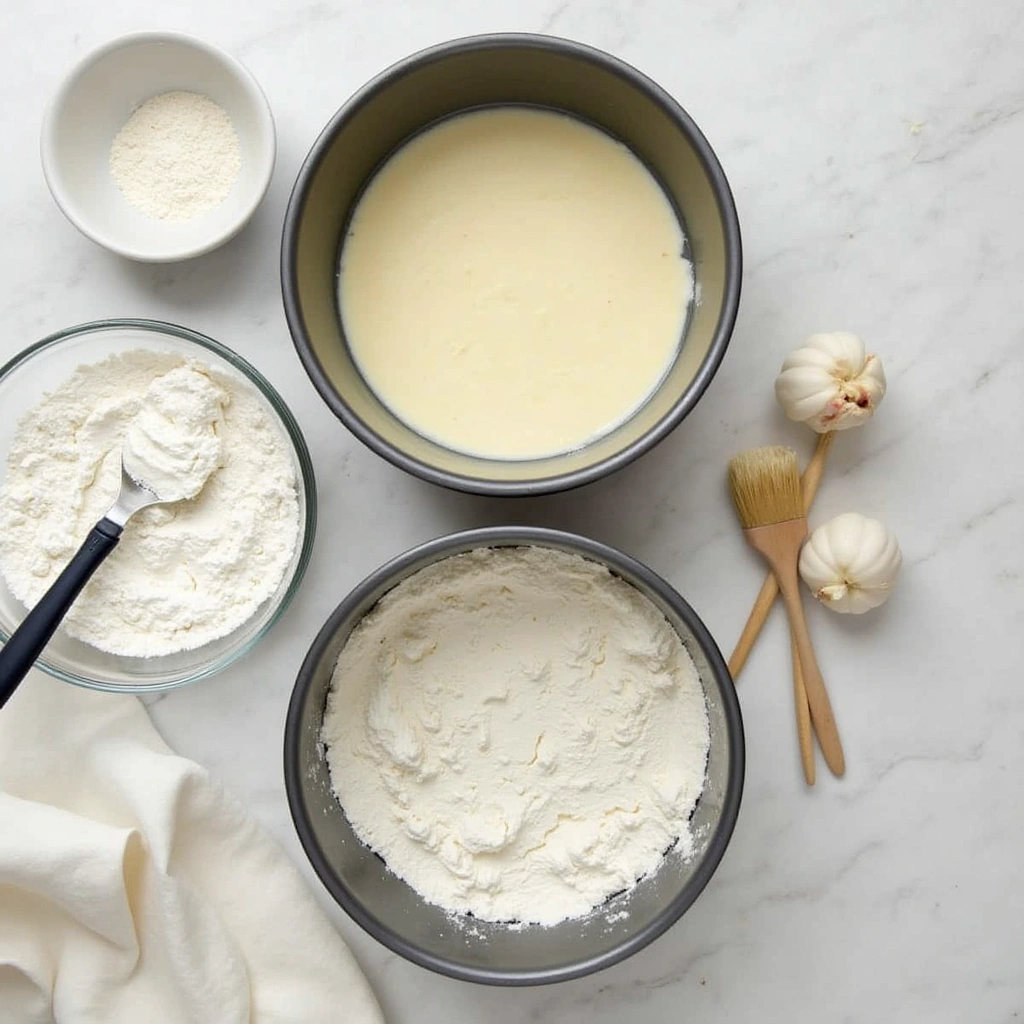
Grease and flour two 9-inch round cake pans to prevent sticking.
You can also use parchment paper on the bottoms for extra assurance.
Make sure the pans are evenly coated to allow the cakes to release easily.
Set the prepared pans aside while you finish the batter.
Step 7: Pour Batter into Pans

Divide the batter evenly between the two prepared cake pans.
Use a spatula to smooth the tops for even baking.
Tap the pans gently on the counter to remove any air bubbles.
This step ensures that your cakes rise evenly without any uneven domes.
Step 8: Bake the Cakes
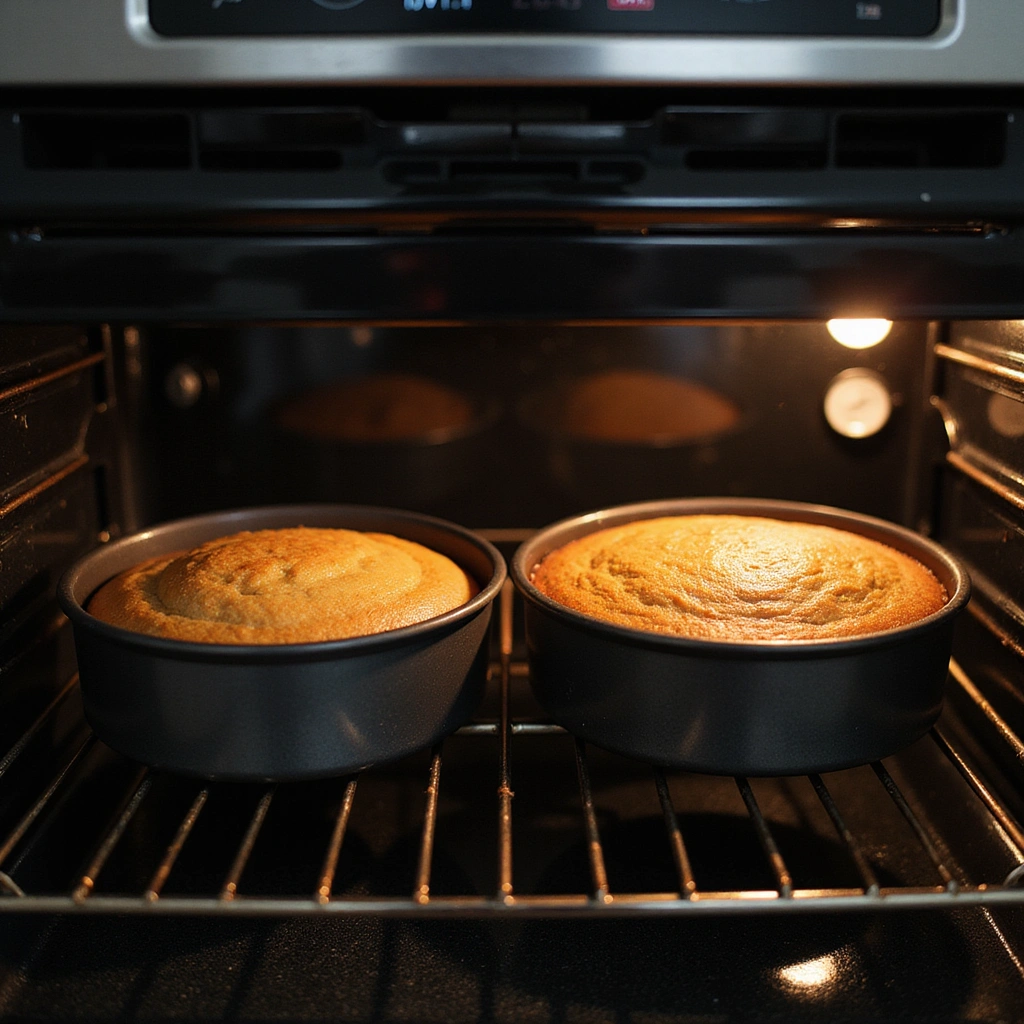
Place the pans in the preheated oven and bake for 30-35 minutes.
The cakes are done when a toothpick inserted into the center comes out clean.
Allow the cakes to cool in the pans for about 10 minutes before transferring to a wire rack.
Cooling completely is essential before frosting to prevent melting the frosting.
Step 9: Make the Frosting
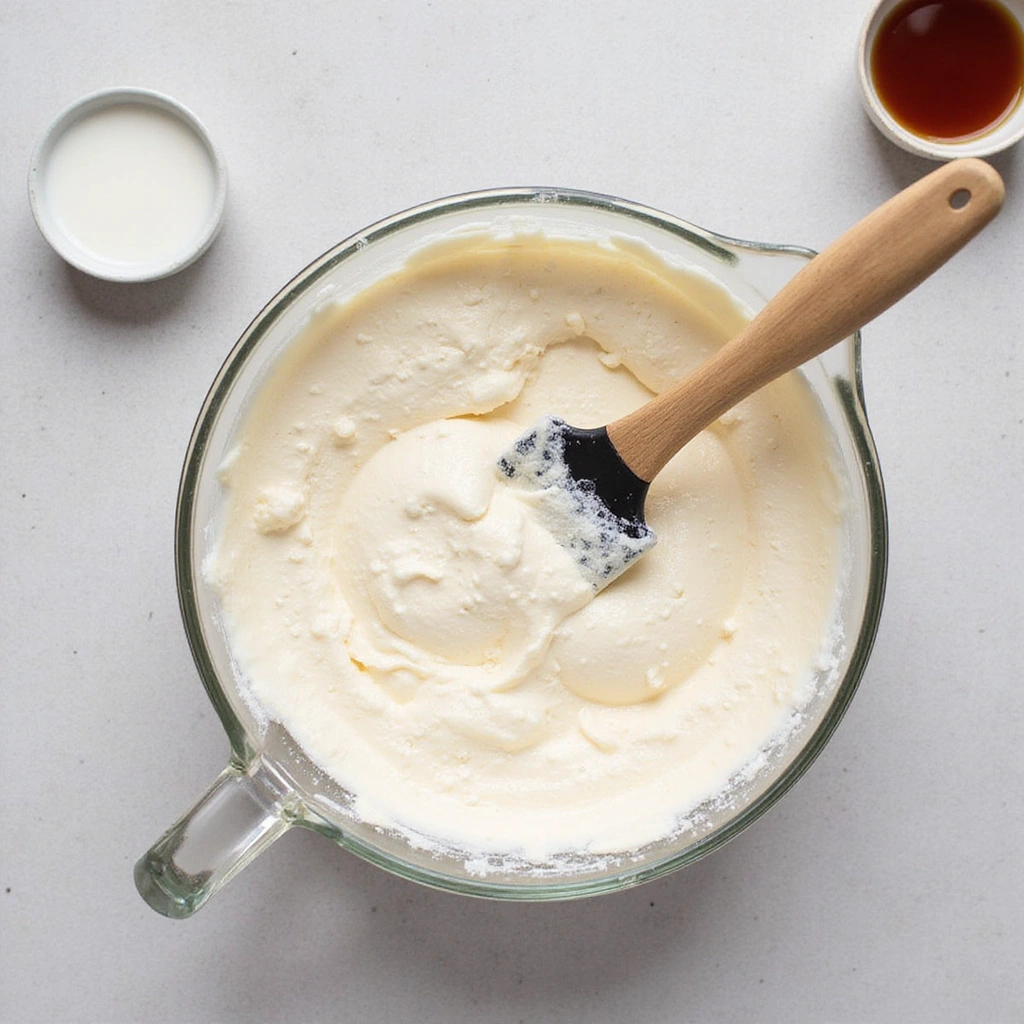
In a stand mixer, beat the softened butter until creamy.
Gradually add the powdered sugar and beat until smooth.
Add the vanilla extract and a splash of milk to reach your desired consistency.
The frosting should be light and fluffy, perfect for spreading.
Step 10: Frost the Cakes
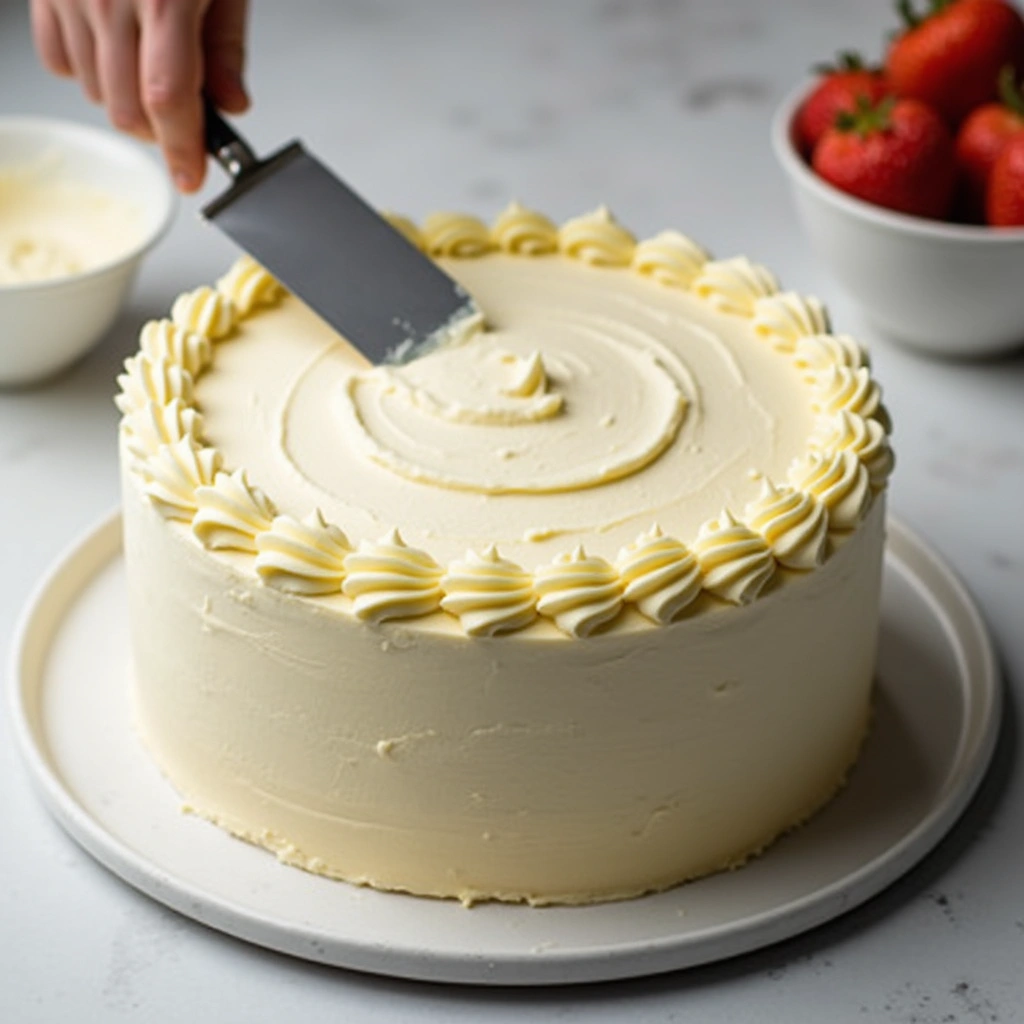
Once the cakes are completely cooled, place one layer on a serving plate.
Spread a layer of frosting on top before adding the second layer.
Frost the top and sides of the cake evenly for a polished finish.
Use an offset spatula for smooth application and clean edges.
Step 11: Decorate as Desired
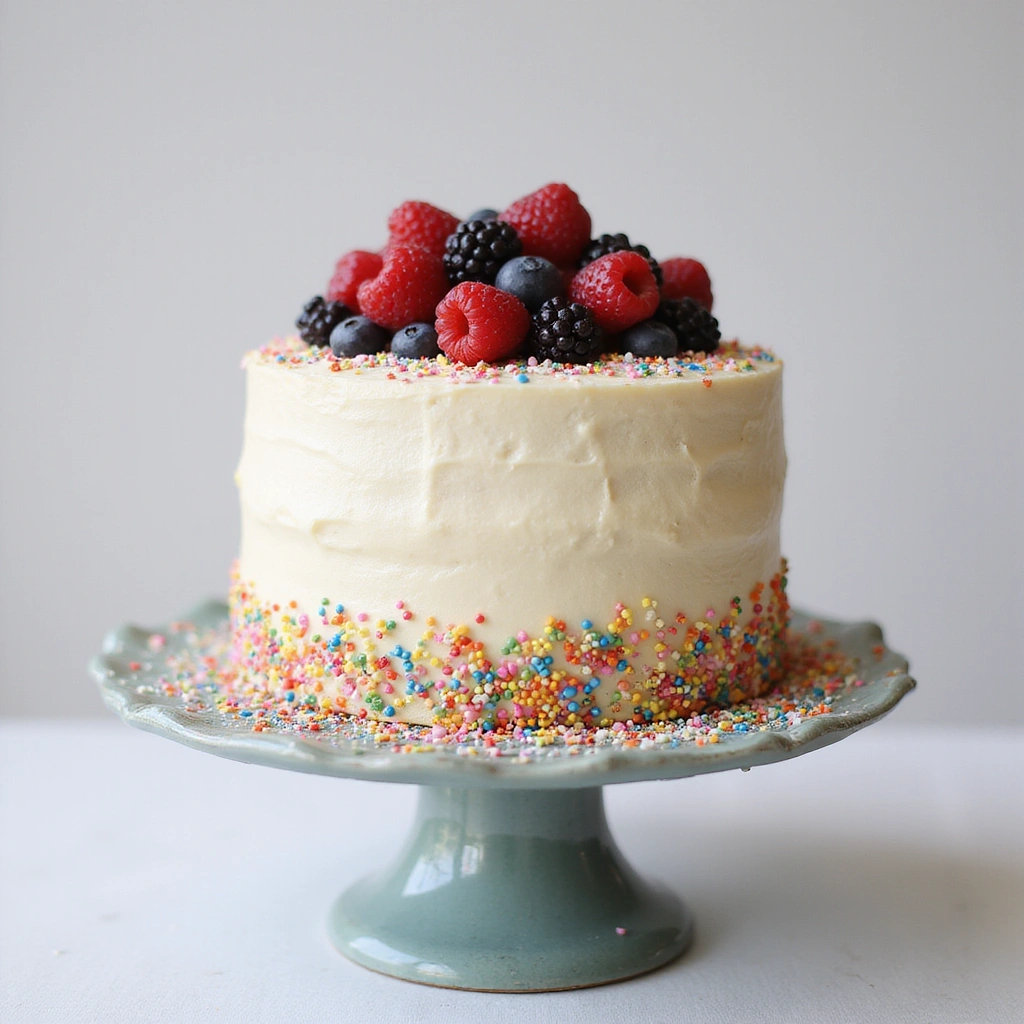
Add any additional decorations such as sprinkles or fresh fruit on top of the frosted cake.
This is your chance to personalize the cake for special occasions.
Keep it simple for a classic look or go extravagant for celebrations.
Ensure any decorations are evenly spaced and visually appealing.
Step 12: Serve and Enjoy
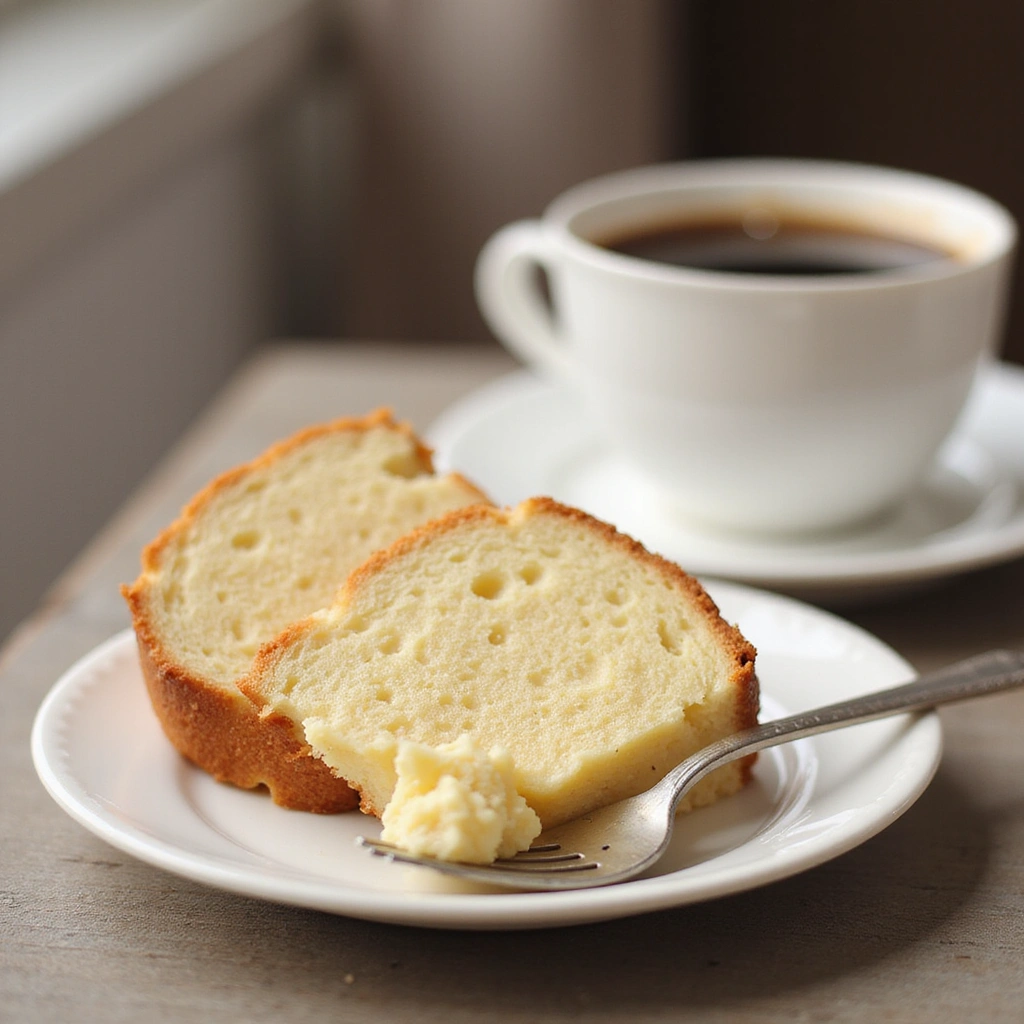
Slice the cake into even pieces using a sharp knife.
Serve at room temperature for the best flavor and texture.
Pair with coffee or tea for an elegant touch.
Enjoy the compliments and the delightful flavors of your homemade vanilla cake!
Critical Timing and Temperature Guide
Oven Temperature: Ensure your oven is preheated to 350°F (175°C) for even baking. An oven thermometer can help you verify accuracy. Common mistakes include opening the oven door too often, which can cause temperature fluctuations.
Baking Time: Cakes typically bake for 30-35 minutes but check for doneness around 25 minutes. Look for a golden-brown top and a toothpick that comes out clean. Overbaking can lead to dryness, so keep an eye on them in the last few minutes.
Cooling Time: Allow cakes to cool in the pan for at least 10 minutes before transferring to a wire rack. This prevents sogginess. Cakes should be completely cool before frosting, usually taking about 1 hour.
Pro Tips for How To Bake The Perfect Vanilla Cake
• Ingredient Selection: Use high-quality vanilla extract for a more intense flavor. Pure vanilla extract is preferable to imitation for authenticity.
• Preparation Secret: Consider separating the egg whites and yolks. Whipping the egg whites separately and folding them in can enhance the cake’s fluffiness.
• Temperature Management: Ensure all ingredients are at room temperature, especially butter and eggs, for better emulsification in the batter.
• Texture Enhancement: Sifting the flour and baking powder can incorporate air and prevent clumping, contributing to a lighter cake.
• Flavor Layering: For added depth, consider infusing the milk with vanilla beans before adding it to the batter.
• Make-Ahead Strategies: Bake the cake layers a day in advance and store them wrapped in plastic to lock in moisture without compromising quality.
• Restaurant-Quality Finishing Touches: Use a piping bag to create decorative frosting designs on top of the cake for a professional look.
• Equipment Optimization: Regularly check your oven calibration to ensure consistent baking results.
Troubleshooting Common Issues
• Texture Too Dense: This can occur from overmixing the batter or using too much flour. Ensure you measure flour correctly and mix until just combined.
• Cake Doesn’t Rise: If your cake is flat, check your baking powder’s expiration date; it may not be active. Also, ensure your oven temperature is accurate.
• Dry Cake: Overbaking is usually the culprit. Keep an eye on baking time and check for doneness a few minutes early.
• Cake Sticking to the Pan: Make sure to grease and flour the pans thoroughly. Using parchment paper can also help prevent sticking.
• Frosting Melting: If your frosting is melting, your cake might still be warm. Ensure the cake is completely cooled before frosting.
Variations and Regional Differences
• European Butter Cake: This version incorporates more butter and often uses cake flour, resulting in a richer flavor and finer crumb. It’s commonly served during celebrations.
• Italian Pan di Spagna: A light sponge cake made with whipped eggs, it’s less dense than the traditional vanilla cake and often used as a base for layered cakes.
• American Buttercream Cake: This variation uses a thicker buttercream frosting, often flavored with cocoa or fruit purees for additional richness.
• Modern Interpretations: Incorporating ingredients like almond flour or coconut sugar for gluten-free or healthier versions while maintaining the essence of the original cake.
Food Science Behind the Recipe
• Creaming Method: The process of creaming butter and sugar incorporates air into the mixture, which expands during baking and contributes to the cake’s rise and texture.
•
• Gluten Development: Mixing flour activates gluten, providing structure to the cake. However, overmixing can lead to a tough texture, so mix just until combined.
Frequently Asked Questions
What’s the most common mistake people make when preparing vanilla cake? The most common mistake is overmixing the batter once the flour is added, leading to a dense texture. Mix just until incorporated for a lighter cake.
Can I prepare components of this dish in advance? Yes, you can bake the cake layers in advance and store them in the fridge or freezer. Wrap them tightly in plastic wrap for best results.
How do I adapt this recipe for dietary restrictions? To make it dairy-free, substitute the butter with coconut oil and the milk with almond milk. Ensure your baking powder is gluten-free if necessary.
What’s the best way to store and reheat leftovers? Store leftover cake in an airtight container at room temperature for up to 3 days. For reheating, use a microwave for a few seconds to restore moisture without drying it out.
Can I freeze this dish? Yes, you can freeze the cake for up to 3 months. Wrap it tightly in plastic wrap and aluminum foil before freezing, and thaw in the fridge before serving.
What wine or beverages pair best with this dish? A light dessert wine, like a Moscato, complements the sweetness of the cake, or a cup of Earl Grey tea for a classic pairing.
How can I scale this recipe up for a crowd? To serve more people, simply double the ingredients and bake in larger pans, adjusting the baking time as needed to ensure even cooking.
What side dishes complement this recipe best? Fresh fruit salad or vanilla ice cream pairs beautifully with the cake, enhancing its flavors and adding a refreshing contrast.
How do professional chefs elevate this dish for restaurant service? Chefs often use gourmet garnishes like edible flowers or microgreens and serve the cake with house-made sauces for a refined presentation.
Serving and Presentation Guide
• Traditional Presentation: Serve the cake on a decorative cake stand, garnished with fresh berries and a dusting of powdered sugar for an elegant touch.
• Modern Plating Ideas: Consider a minimalist approach by slicing the cake into squares and placing them on individual dessert plates with a scoop of ice cream on the side.
• Accompaniment Suggestions: Pair with a light fruit compote or a drizzle of chocolate sauce for added flavor and visual appeal.
• Special Occasion Presentation: Use a tiered cake stand for weddings or large gatherings, and consider adding flowers or themed decorations to match the event.
Conclusion
Baking the perfect vanilla cake is a rewarding experience that brings joy to any occasion.
With the right ingredients and techniques, you can create a dessert that is both delicious and impressive.
I encourage you to try this recipe and share the delight with family and friends.